
Add the Revolut Pay button to your checkout, confirm payment results in your UI, and fulfil orders on authoritative webhooks.
Revolut Pay allows your customers to pay with their card or Revolut bank account, delivering a streamlined checkout experience through your website.
In this tutorial, we'll guide you through integrating Revolut Pay, powered by the Revolut Checkout Widget. The SDK handles the entire payment flow, including redirection and authentication, reducing friction and improving conversion rates.
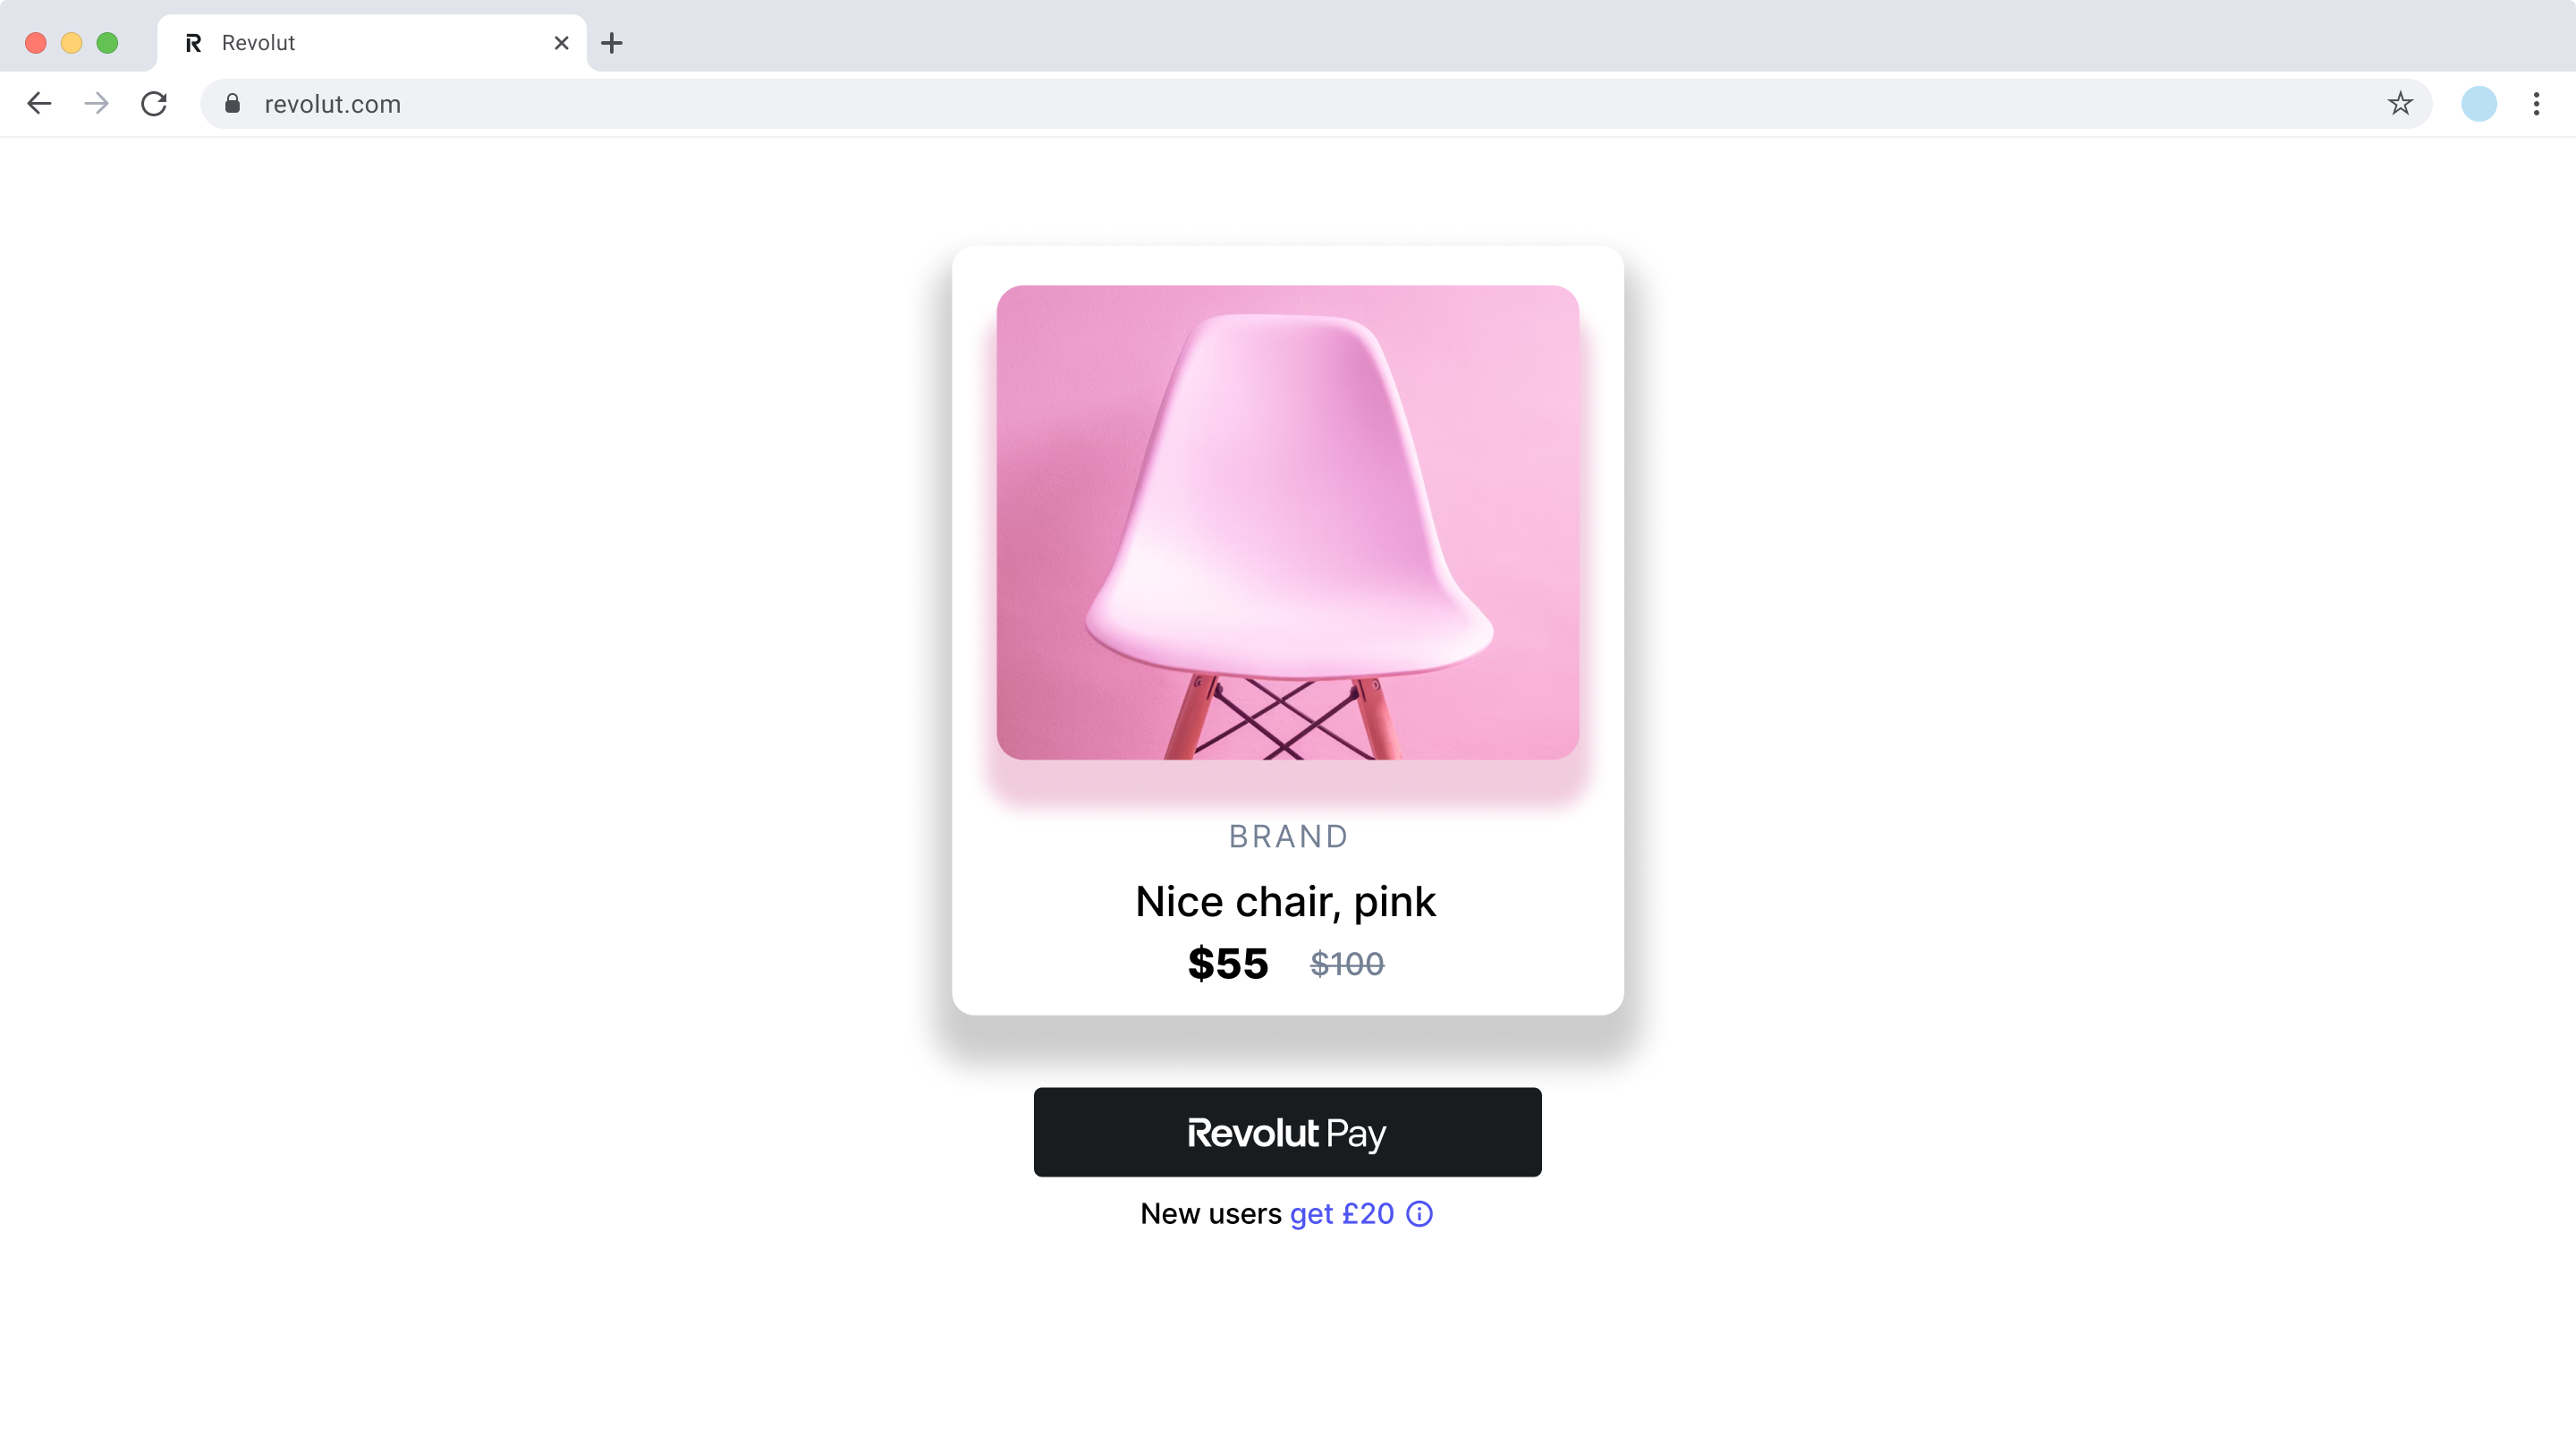
How it works
From an implementation perspective, the Revolut Pay SDK works with the following components:
- Server-side: A server-side endpoint is required to securely communicate with the Merchant API to create orders.
- Client-side: The SDK uses your public API key to initialise a
RevolutCheckout.payments()instance, which gives you access to therevolutPaymodule. The Revolut Pay button is then configured and mounted, using atokenfrom the created order to initiate the payment. The SDK handles the payment flow, including other actions like redirection or authentication. - Endpoint for webhooks: Your server listens for webhook events to reliably track the payment lifecycle. Webhooks are mandatory for critical backend processes like updating order status, managing inventory, or initiating shipping. For more information, see: Use webhooks to keep track of the payment lifecycle.
The payment flow is slightly different based on whether your customer has the Revolut app installed:
- The customer goes to the checkout page and taps the Revolut Pay button.
- Your frontend uses your server endpoint to create an order and obtains the order
tokenvia the Merchant API: Create an order. - The Revolut Pay SDK opens the Revolut app, where they review and authorise the payment.
- The SDK processes the payment and presents the payment result to the customer. You can handle this result in different ways, as you will see in the Handle payment results section.
- Your server receives webhook notifications about each event you're subscribed to. Webhooks are the authoritative source of the final payment status — use them to drive critical backend logic such as order fulfilment, shipping, or inventory updates. For more information, see: Use webhooks to keep track of the payment lifecycle.
For more information about the order and payment lifecycle in the Merchant API, see: Order and payment lifecycle.
Implementation overview
The high-level implementation steps are the following:
- Set up endpoint creating orders
- Install Revolut Checkout package
- Initialise Revolut Pay SDK
- Configure Revolut Pay SDK
- Mount Revolut Pay button
- Handle payment results
The following sections describe each step in detail. To see working examples, you can skip ahead.
Integration options
To handle the payment result, you have two integration paths, explained in detail in step 6:
- Redirect URLs: Add
redirectUrlsto yourpaymentOptionsand the widget redirects the customer to yoursuccess,failure, orcancelpages on all devices. The simplest path, suitable for multi-page applications. - Event listening with mobile redirects: Handle payment outcomes in your client-side code with the
.on()method for a dynamic UI, and providemobileRedirectUrlsto redirect customers on mobile devices when the payment continues on a standalone Revolut page (without the Revolut app installed).
Before you begin
Before you start this tutorial, make sure you have the following:
- An active Merchant account with Revolut Business. If you don't have one yet, apply for a Merchant account.
- Your API keys - both your public key (for initialising the SDK) and secret key (for creating orders on your backend). See Generate the API keys.
- A backend server to securely create orders using the Merchant API. Your secret API key must never be exposed on the client side.
- A website checkout page where you'll mount the Revolut Pay button.
Implement Revolut Pay
This section walks you through the server- and client-side implementation step by step.
The SDK supports both async/await syntax and the traditional Promise-based .then() syntax. You can see examples of both at each step of the guide.
1. Set up endpoint creating orders
Before implementing the client-side widget, you must first create a dedicated endpoint on your server. This is a critical security step, as your secret API key must never be exposed on the client side.
The role of this server-side endpoint is to act as a secure bridge between your frontend and the Merchant API. When a customer initiates a payment on your website, your frontend will call this endpoint. Your endpoint is then responsible for:
- Receiving the checkout details (e.g.,
amount,currency) from the frontend request. - Securely calling the Merchant API: Create an order endpoint with the received details.
- Receiving the order details, including the public
token, back from the Merchant API. - Passing this
tokenback to your frontend in the response.
In step 4, the createOrder callback calls this endpoint to fetch the token the widget needs to start the payment.
Send a POST request to the Create an order endpoint with the order details, including your Secret API key in the authorisation header:
POST /api/orders HTTP/1.1
Host: merchant.revolut.com
Authorization: Bearer sk_abcdef12347890_...
Content-Type: application/json
Revolut-Api-Version: 2026-08-17

{
  "amount": 1000,
  "currency": "GBP"
}| Parameter | Description |
|---|---|
amount | The order amount in minor currency unit (e.g., cents). For £10.00, use 1000. |
currency | 3-letter ISO 4217 currency code for the payment. See supported currencies. |
Replace the Revolut-Api-Version value with your target API version. We highly recommend using the latest API version to access the latest features.
For complete details on all available parameters, see: Merchant API: Create an order.
2. Install Revolut Checkout package
Before you begin the client-side integration, add the Revolut Checkout package to your project using your preferred package manager. This package is necessary to interact with the Revolut Pay SDK.
Make sure you're on the latest version of the @revolut/checkout library.
npm install @revolut/checkoutyarn add @revolut/checkoutpnpm add @revolut/checkoutbun add @revolut/checkoutAlternatively, you can add the widget to your code base by adding the embed script to your page directly.
To learn more, see: Installation.
3. Initialise Revolut Pay SDK
Import RevolutCheckout and call RevolutCheckout.payments() with your Public API key to get a revolutPay instance. You can also pass an optional locale parameter here, which is useful if you want to align the language of the Revolut Pay widget with your site's language selector.
import RevolutCheckout from '@revolut/checkout'

const { revolutPay } = await RevolutCheckout.payments({
  publicToken: 'pk_abcdef12347890_...', // Merchant public API key
  mode: 'prod', // API environment, defaults to 'prod'
  locale: 'en', // Optional, defaults to 'auto'
})

// Configuration code will go here| Parameter | Description |
|---|---|
publicToken | Your Merchant API public key |
mode | API environment. Default: 'prod' |
locale | Widget language (defaults to 'auto' for automatic detection). See Locale |
For more information about the RevolutCheckout.payments() module, see: Payments module
4. Configure Revolut Pay SDK
Next, create a paymentOptions object. This object defines the core details of the payment and will be passed to the revolutPay.mount() method in the next step.
The most critical parameter is createOrder. This is a function you define that calls your backend to create an order via the Merchant API and returns the token (as publicId).
import RevolutCheckout from '@revolut/checkout'

const { revolutPay } = await RevolutCheckout.payments({
  publicToken: 'pk_abcdef12347890_...', // Merchant public API key
  mode: 'prod',
})

const paymentOptions = {
  currency: 'GBP', // 3-letter currency code
  totalAmount: 1000, // in lowest denomination e.g., cents

  createOrder: async () => {
    // Call your backend here to create an order
    // For more information, see: https://developer.revolut.com/docs/api/merchant#create-order
    const order = await yourServerSideCall()
    return { publicId: order.token }
  },

  // You can put other optional parameters here
}| Parameter | Description |
|---|---|
currency | 3-letter ISO 4217 currency code of the payment. Must match the currency of the order created in step 1. |
totalAmount | Order amount in the currency's smallest denomination (e.g., cents). Must match the order's amount. |
createOrder | Function the widget calls when the customer clicks the button. It calls your backend endpoint from step 1, which creates the order via the Merchant API: Create an order endpoint and returns the order's token. Return { publicId: order.token } to the widget so it can start the checkout session. |
For a more detailed reference of the Revolut Pay options and button styling, see: Revolut Pay and Revolut Pay button guidelines.
Additional settings
The Revolut Pay integration also offers a range of options for enhanced functionality. You can include these inside the paymentOptions object.
Save payment method
Set savePaymentMethodForMerchant to true to save the customer's payment method for future merchant-initiated transactions (e.g., subscriptions). For more information, see: Charge a customer's saved payment method, Manage subscriptions. For automated recurring billing built on saved payment methods, see the Subscriptions API introduction.
To save a payment method, you must either create a customer object during order creation or provide a customer.id for an existing customer.
Collect shipping details with Fast checkout
Set requestShipping to true to enable Fast checkout. This allows Revolut Pay to collect the shipping address and delivery methods from the customer, letting your application skip the shipping flow and allowing the customer to use their details already stored in Revolut Pay.
Your backend must support the Fast checkout flow for this feature to work. See the Fast checkout guide for details.
Other optional parameters
| Parameter | Description |
|---|---|
buttonStyle | Customise the look and feel of the button. |
customer | Pre-fill the customer's details to speed up the checkout process. |
validate | Provide a function that performs validation before a payment is initiated. |
5. Mount Revolut Pay button
Now, render the Revolut Pay button on your page.
5.1 Add a DOM element
First, add an empty <div> container to your HTML file where you want the button to appear.
<!-- ... -->

<div id="revolut-pay"></div>

<!-- ... -->5.2 Mount the button
Call the .mount() method from your revolutPay instance, passing the container's selector and the paymentOptions you configured.
import RevolutCheckout from '@revolut/checkout'

const { revolutPay } = await RevolutCheckout.payments({
  publicToken: 'pk_abcdef12347890_...', // Merchant public API key
  mode: 'prod',
})

const paymentOptions = {
  currency: 'GBP',
  totalAmount: 1000,

  createOrder: async () => {
    // Call your backend here to create an order
    // For more information, see: https://developer.revolut.com/docs/api/merchant#create-order
    const order = await yourServerSideCall()
    return { publicId: order.token }
  },

  // You can put other optional parameters here
}

revolutPay.mount(document.getElementById('revolut-pay'), paymentOptions)| Parameter | Description |
|---|---|
target | The DOM element (or a CSS selector string) where the Revolut Pay button renders. |
options | The paymentOptions object configured in step 4. |
6. Handle payment results
Revolut Pay reports the payment result to your frontend through one of two integration paths: redirect URLs, or event listening with mobile redirects. Both paths confirm the result at the UX-level only.
The authoritative payment status for your business logic - fulfilment, shipping, inventory - always arrives on your server via webhooks, which you set up at the end of this step.
Before choosing your integration path, understand the roles of client-side results and server-side webhooks:
- Widget events (
.on('payment', ...)): These are perfect for handling frontend logic, such as displaying a success message, updating the UI, or showing an error to the customer. However, their delivery is not guaranteed. Factors like the user's browser performance, network connectivity, or ad-blockers can prevent these events from firing. - Redirect URLs and their query parameters: These tell your page which outcome the customer saw, but they are untrusted client-side values - a user can forge or replay them. Arrival at your
successURL is never proof of payment. - Webhooks: These are server-to-server notifications that we guarantee to send for every payment status change. You must rely on webhooks for all critical backend logic, such as confirming the order, releasing digital goods, or starting the shipping process.
Never use widget events or client-side redirects as the sole trigger for critical backend logic.
Confirm payment result in UI
You have the following integration paths to choose from:
This is the simplest path. The widget automatically redirects the customer to a new page for all outcomes, on all devices. Simply add a redirectUrls object to your paymentOptions. No event listener is needed.
When to implement redirect URLs:
- You have limited technical resources
- You use an older tech stack
- You have a multi-page application
- You need to redirect customers to a new page upon payment
import RevolutCheckout from '@revolut/checkout'

const { revolutPay } = await RevolutCheckout.payments({
  publicToken: 'pk_abcdef12347890_...', // Merchant public API key
  mode: 'prod',
})

const paymentOptions = {
  currency: 'GBP',
  totalAmount: 1000,

  createOrder: async () => {
    // Call your backend here to create an order
    // For more information, see: https://developer.revolut.com/docs/api/merchant#create-order
    const order = await yourServerSideCall()
    return { publicId: order.token }
  },

  redirectUrls: {
    success: 'https://www.example.com/success',
    failure: 'https://www.example.com/failure',
    cancel: 'https://www.example.com/cancel',
  },

  // You can put other optional parameters here
}

revolutPay.mount(document.getElementById('revolut-pay'), paymentOptions)| Parameter | Description |
|---|---|
success | URL the customer is redirected to after a successful payment. |
failure | URL the customer is redirected to after a failed payment. |
cancel | URL the customer is redirected to after they cancel the payment. |
case 'cancel': // Handle payment cancellations if (event.dropOffState === 'payment_summary') { // The payment was abandoned on the payment summary screen } break } }) })
| Parameter | Description |
|-----------|-------------|
| `success` | URL the customer is redirected to on mobile after a successful payment. |
| `failure` | URL the customer is redirected to on mobile after a failed payment. |
| `cancel` | URL the customer is redirected to on mobile after they cancel the payment. |

| Event type | Description |
|------------|-------------|
| `success` | The payment completed successfully. |
| `error` | The payment failed. Error details are available in `event.error.message`. |
| `cancel` | The customer cancelled the payment. `event.dropOffState` shows where - see [Revolut Pay](/docs/sdks/merchant-web-sdk/payment-methods/revolut-pay) for all values. |

:::info
For more information about listening to `payment` events, see: [Revolut Pay](/docs/sdks/merchant-web-sdk/payment-methods/revolut-pay).
:::


#### Handle customer landing on redirect page

Every Revolut Pay integration uses redirects: with `redirectUrls`, the customer is redirected on all devices; with `mobileRedirectUrls`, on mobile only. In both paths, the customer lands on one of your redirect pages after the payment.

When a customer is redirected to your `success`, `failure`, or `cancel` page, Revolut Pay appends the order's public ID (`token`) as a query parameter named `_rp_oid`. For a `success` URL of `https://www.example.com/success`, the final URL is `https://www.example.com/success?_rp_oid=fe34dbd3-3fa9-4d4c-8987-3f7735ba3cdf`.

Retrieve this ID on your redirect page using one of the following methods:

1. **Using `URLSearchParams`:**

 ```js
 const searchParams = new URLSearchParams(window.location.search)
const revolutPublicOrderId = searchParams.get('_rp_oid')-
Using the SDK's helper function (available from v1.1.3):
import { getRevolutPayOrderIdURLParam } from '@revolut/checkout'

const revolutPublicOrderId = getRevolutPayOrderIdURLParam()
Send this ID to your backend and resolve it to the order you created in step 1 - your backend looks up the order by its token and uses the stored order id to retrieve the current payment state:
Send a GET request to the Retrieve an order endpoint with the order id your backend stored at creation:
GET /api/orders/{order_id} HTTP/1.1
Host: merchant.revolut.com
Authorization: Bearer sk_abcdef12347890_...
Revolut-Api-Version: 2026-08-17The _rp_oid query parameter and the redirect URL are untrusted client-side values. A user can forge or replay them.
Do not treat arrival at the success URL - or a completed state read on your redirect page - as the trigger for business logic such as fulfilment, shipping, or inventory updates. Those decisions belong to your webhook handler, which receives the guaranteed ORDER_COMPLETED event.
For more information about redirect handling, see: Revolut Pay.
Set up webhooks
Your backend must rely on webhooks as the authoritative source of payment status. Widget events and redirect URLs confirm the result at the UX level only - webhooks are guaranteed, server-to-server notifications that drive your critical backend logic.
Send a POST request to the Create a webhook endpoint with your webhook URL and the events you want to subscribe to:
POST /api/webhooks HTTP/1.1
Host: merchant.revolut.com
Authorization: Bearer sk_abcdef12347890_...
Content-Type: application/json

{
  "url": "https://example.com/webhooks",
  "events": [
    "ORDER_COMPLETED",
    "ORDER_AUTHORISED",
    "ORDER_PAYMENT_DECLINED",
    "ORDER_PAYMENT_FAILED",
    "ORDER_CANCELLED",
    "ORDER_FAILED"
  ]
}| Parameter | Description |
|---|---|
url | Your webhook URL. Must be a valid HTTP or HTTPS URL capable of receiving POST requests. |
events | Array of event types to subscribe to. See Webhook events for the full list. |
For detailed information on setting up webhooks, see: Use webhooks to track order and payment lifecycle.
Payment outcomes
Handle the following scenarios in your webhook handler:
The payment has been authorised by the card network or the customer's Revolut account.
Webhooks expected:
| Webhook event | Description |
|---|---|
ORDER_AUTHORISED | The payment has been authorised but not yet captured |
ORDER_COMPLETED | The payment has been captured and completed |
What to do:
- Automatic capture (default): both
ORDER_AUTHORISEDandORDER_COMPLETEDfire in quick succession. Fulfil the order onceORDER_COMPLETEDis received. - Manual capture:
ORDER_AUTHORISEDfires first. Capture the payment to complete the transaction, or cancel the order to decline.ORDER_COMPLETEDfires after you capture.
Examples
Looking for more inspiration?
- Check out our live Revolut Pay demo for a practical demonstration of this integration.
- Explore our integration examples repository to discover all available examples and see how different payment solutions are implemented.
The examples below show a complete, self-contained implementation for each integration path: a checkout page, the client-side integration, and a minimal backend that creates orders. Both examples use async/await syntax - see steps 3-6 for the Promise-based equivalents.
Example with redirect URLs
<!DOCTYPE html>
<html lang="en">
  <head>
    <meta charset="UTF-8">
    <title>Checkout</title>
  </head>
  <body>
    <h1>Checkout</h1>

    <!-- The Revolut Pay button renders here -->
    <div id="revolut-pay"></div>

    <script type="module" src="/app.js"></script>
  </body>
</html>Example with event listening and mobile redirect URLs
<!DOCTYPE html>
<html lang="en">
  <head>
    <meta charset="UTF-8">
    <title>Checkout</title>
  </head>
  <body>
    <h1>Checkout</h1>

    <!-- The Revolut Pay button renders here -->
    <div id="revolut-pay"></div>

    <script type="module" src="/app.js"></script>
  </body>
</html>Implementation checklist
Before deploying your implementation to your production environment, complete the checklist below to see if everything works as expected, using the Merchant API's Sandbox environment. To test in Sandbox, change the address of the endpoints you want to test from https://merchant.revolut.com/ to https://sandbox-merchant.revolut.com/. For more information, see: Set up a sandbox account.
As Revolut Pay has more complex user flows compared to other payment methods, the following user journey paths need to be tested (besides general tests):
To see if your implementation is able to manage all flows, check each flow against the checks below.
For more information about Revolut Pay payment flows in Sandbox, see: Test flows.
Desktop flow
This is the least complex of the user flows. Steps are the following:
- User clicks the Revolut Pay button on the merchant's site.
- User journey is completed in a popup.
- Payment completed or failed, the respective message is shown to the customer.
Mobile flow (without Revolut app installed)
This user flow represents the case where the Revolut app is not installed on the customer's phone:
- User clicks the Revolut Pay button on the merchant's site using their mobile browser.
- Client SDK attempts to open the Revolut app.
- If it is not installed, the user is redirected to a standalone page where the payment flow continues.
- Payment completed or failed, the customer should be redirected to the merchant site and the respective message is shown to the customer.
You can test this flow with your browser's built-in mobile browser simulator, available in the browser's developer tools.
Mobile flow (with Revolut app installed)
This user flow represents the case where the Revolut app is installed on the customer's phone:
- User clicks the Revolut Pay button on the merchant's site using their mobile browser.
- Client SDK attempts to open the Revolut app.
- If it is installed, the Revolut app is opened where the payment flow continues.
- Payment completed or failed, the Revolut app attempts to redirect the user to the same browser where the flow started.
Only Google Chrome, Safari, Samsung Internet Browser, Firefox, and Opera are supported. If the user begins on any other browser, successful redirection to the same browser is not guaranteed. The user will be redirected to their default mobile browser.
- A self-closing page is opened, and the user arrives at the tab where the flow started.
General checks
-
Revolut Pay button is rendered at the intended DOM element.
-
Your backend creates the order successfully when clicking the button.
-
Order
tokenis successfully fetched. -
Checkout is successful with test cards for successful payment.
-
Checkout errors are handled as expected by your application.
-
All cases of
cancelevents are handled, and everydropOffStateis managed as intended. For more information about the cancellation events, see: Revolut Pay. -
Failed payments are handled with test cards for error cases.
-
Webhook verification
- Webhook endpoint is set up to receive order and payment updates.
- Webhook subscription is created with
ORDER_AUTHORISED,ORDER_COMPLETED,ORDER_PAYMENT_DECLINED,ORDER_PAYMENT_FAILED,ORDER_CANCELLED, andORDER_FAILEDevents. -
ORDER_COMPLETEDwebhook event is received when a payment completes successfully. - If using manual capture,
ORDER_AUTHORISEDis received after authorisation, andORDER_COMPLETEDis received after you capture the payment. - Your backend only fulfils orders after receiving the
ORDER_COMPLETEDwebhook event - never on widget events or redirect URL arrivals. - Webhook signature verification is implemented for security.
Revolut Pay specific checks
New customer
- Customer is created in the Merchant API upon completing checkout.
- Customer details (email, payment methods, shipping details) saved in the Merchant API.
- On next checkout customer is already logged in.
Existing customer
- After first login, customer is already logged in on next checkout.
- Existing customer has their details returned.
- New payment method is saved to customer successfully.
- Shipping details are returned/saved to the customer successfully.
Redirect URLs
If you implemented Revolut Pay with redirect URLs:
- Redirect pages are always opened, both on desktop and mobile.
- Success or failure messaging works on your redirect pages, both on desktop and mobile.
- Redirect pages display the payment result based on the order
stateretrieved through the Merchant API, not on the redirect URL alone.
Event listening with mobile redirect URLs
If you implemented Revolut Pay with event listening and mobile redirect URLs:
- All payment events are listened to, when payment was made on desktop.
- Payment events trigger the expected UI updates on desktop.
- Redirect pages are always opened on mobile.
- Success or failure messaging works on your redirect pages on mobile.
If your implementation handles all these cases as you expect in Sandbox, it is advised you also test your implementation in production before going live. Once your implementation passes all the checks in both environments, you can safely go live with your implementation.
These checks only cover the implementation path described in this tutorial. If your application handles more features of the Merchant API, see the Merchant API: Implementation checklists.
Congratulations! You've successfully implemented Revolut Pay and are ready to accept the first payment.