Accept payments via Payment links
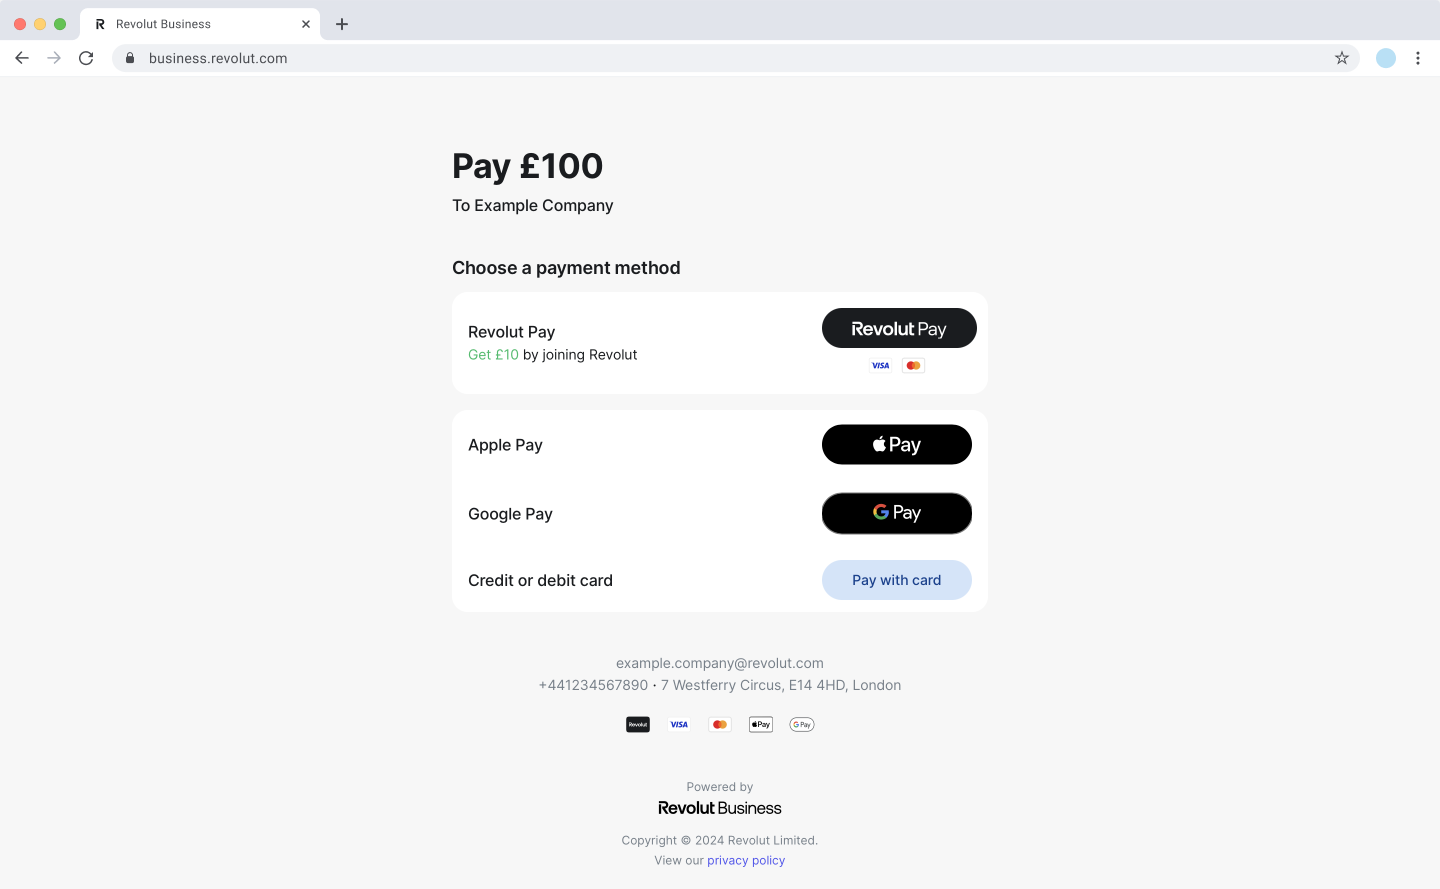
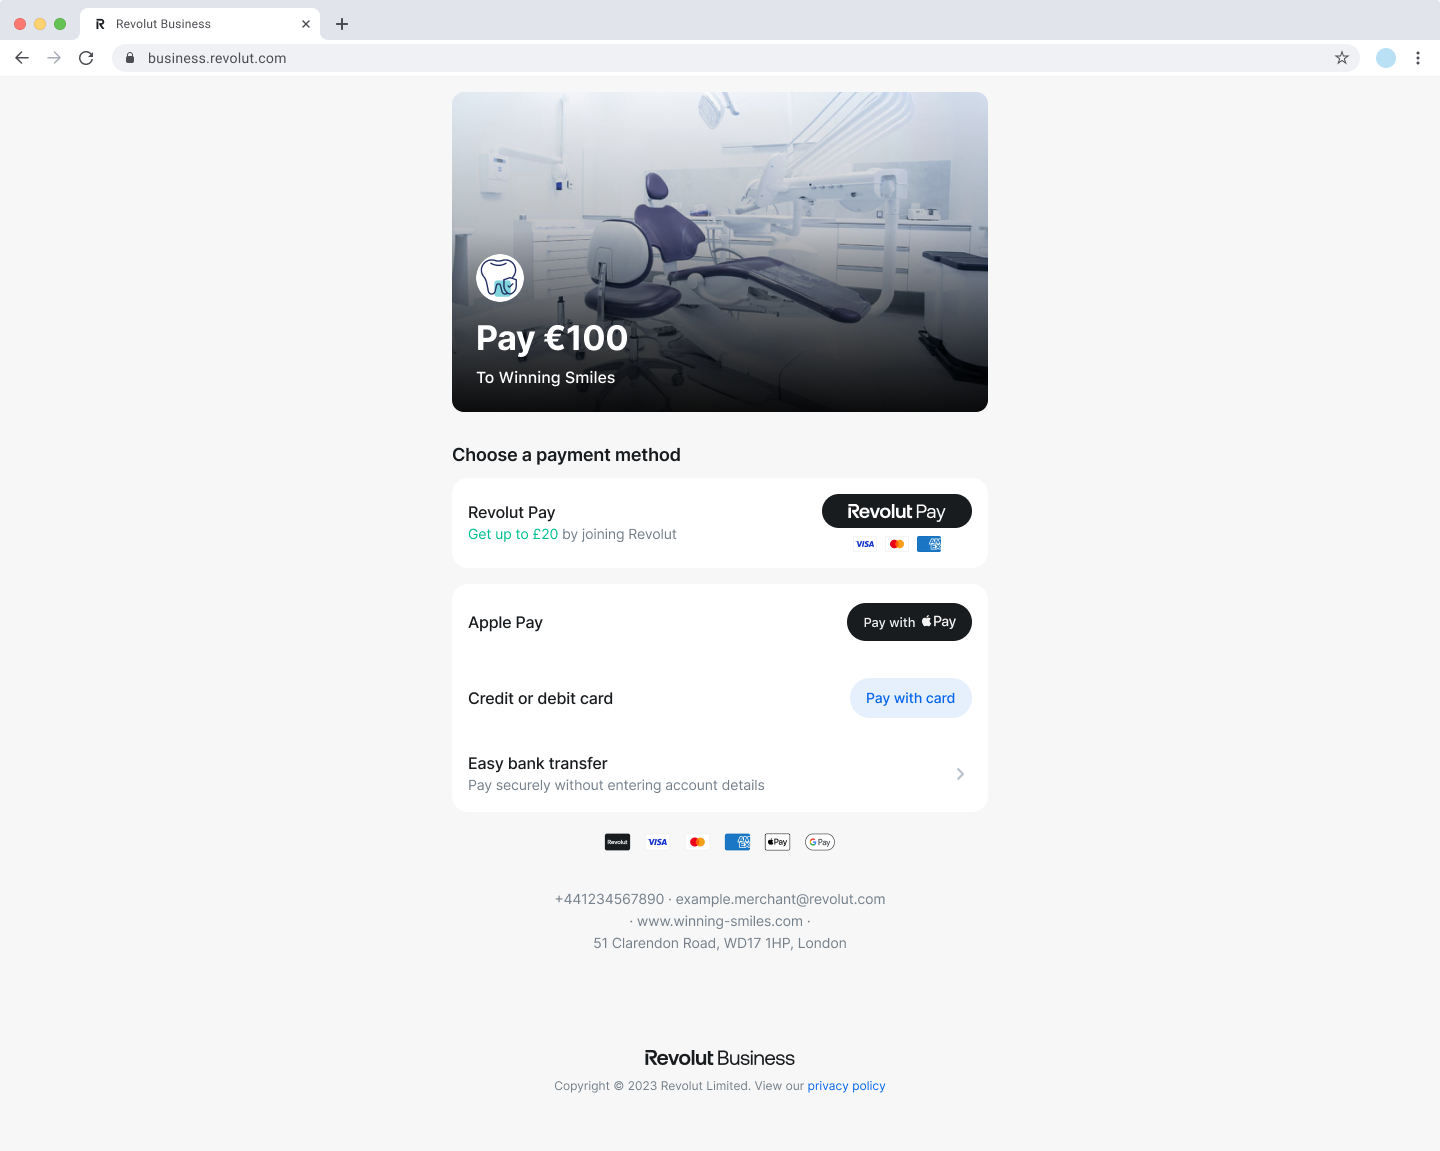
In this tutorial, we will explore how to use Payment links as a seamless and secure checkout option for merchants to receive payments. Through a self-hosted checkout page, Revolut provides an easy way to let your customers pay with their preferred payment method.
Furthermore, we will show how you can redirect your customers after checkout and customise your checkout page with branding material representing your business.
Currently, custom redirection is only supported via the API.
Upon payment completion or failure, customers using payment links generated via the GUI are redirected to our self-hosted confirmation or error pages.

Supported payment methods:
- Revolut Pay
- Apple Pay or Google Pay (depending on the customer's browser or device)
- Credit or debit card
- Easy bank transfer (UK only)
This checkout option is ideal for merchants who:
- Don't have their own checkout page
- Handle checkout by sending emails or text messages
- Don't have a robust order management system
- Are freelancers and only take payments for services on an occasional basis
Take payments using Payment links
You have two options if you want to use Payment links:
Prerequisites
Before you start this tutorial, ensure that you have completed the following steps:
- Get started: 1. Apply for a Merchant account
- Get started: 2. Generate API keys (only required when you generate payment links via the Merchant API)
How to generate payment links using the GUI
- Log in to the Revolut Business dashboard.
- Click the Request button on the Dashboard.
The Request button is also available through the Merchant or Sales menus.
- On the pop-up window, select Payment link.
- Select the currency, and fill in the amount and description fields.
Optionally, you can select to get notified via email when the payment was made.
- Click Create to generate the payment link.
- On the pop-up window, you can either send the link via email, or copy it and send it via your preferred solution.
- Track payment completion on the Merchant tab in your account.
How to generate payment links using the Merchant API
-
Create an order and provide at least the
amountandcurrencyparameters.tipIf you wish to use custom redirection, provide the
redirect_urlin the request body. -
Take the
checkout_urlandid(this will be needed to check payment status) parameters and save them. -
Send the
checkout_urlto your customer via your preferred solution. -
Track payment status by sending a request to the Retrieve an order endpoint using the order's
id.
Custom redirection via the API
The redirect_url parameter allows you to define a custom URL where customers will be redirected after they complete a payment. This enables you to provide a seamless and branded experience by redirecting them back to your website or a custom page.
To use the redirection feature, provide the redirect_url parameter during order creation. Here is an example JSON of the request body:
{
  "amount": 1000,
  "currency": "GBP",
  "redirect_url": "https://example.com/redirection"
}
Customise your checkout page
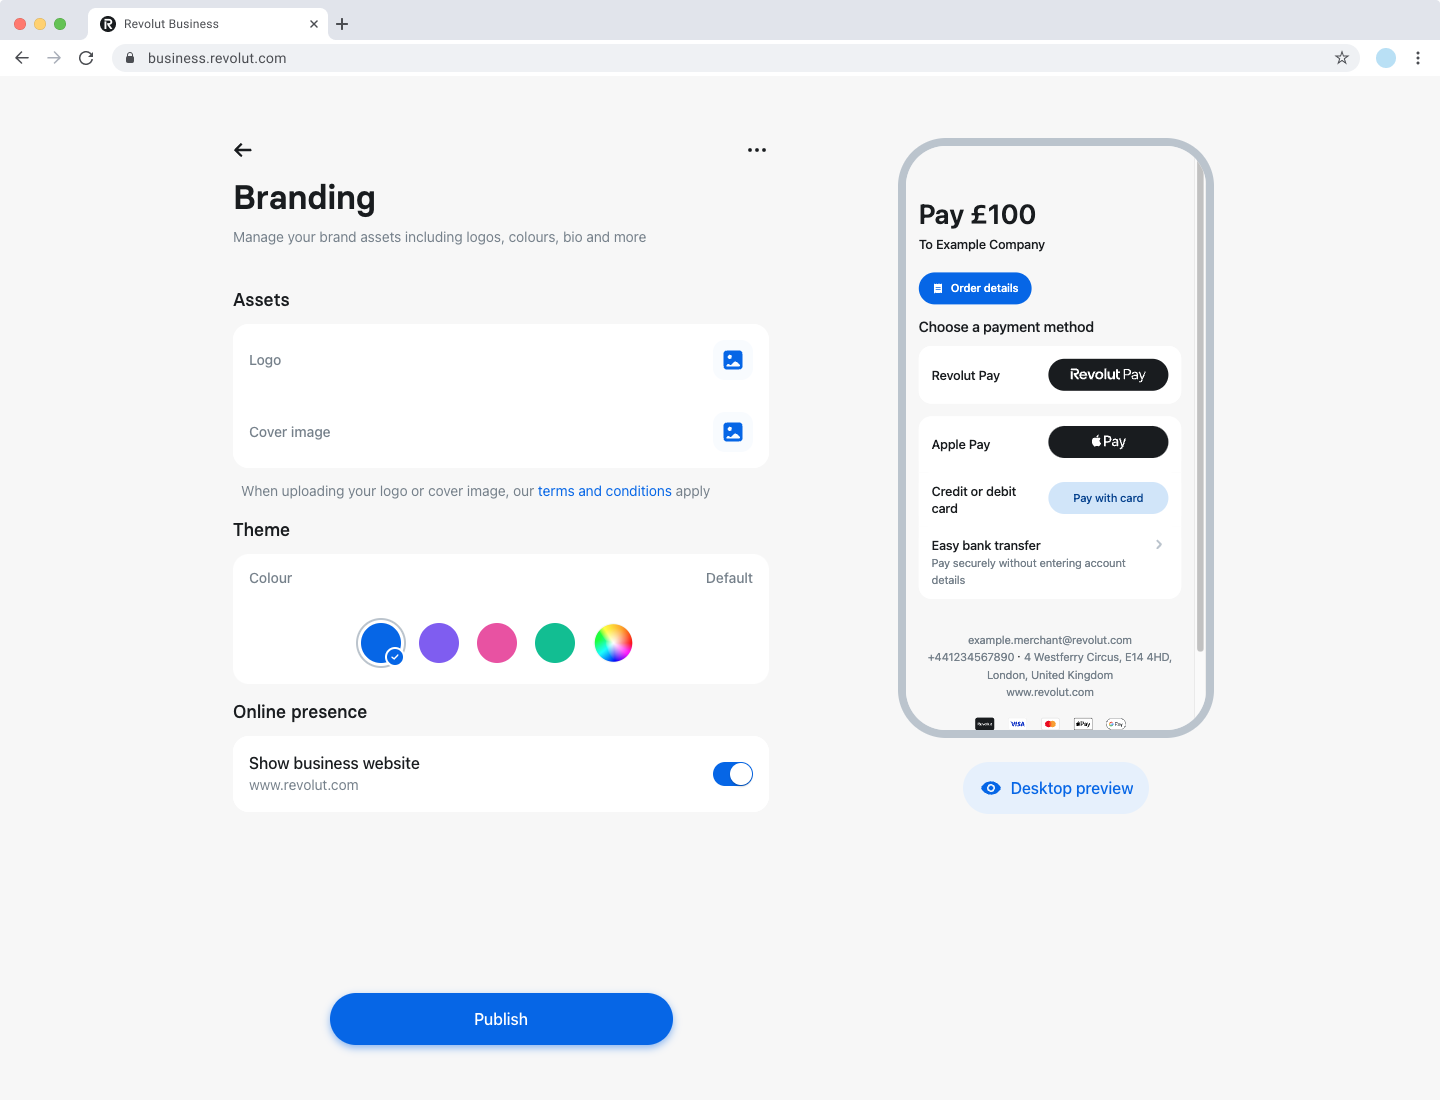
Merchants have the option to customise and showcase the branding of their business on the checkout page available through Payment links. The following items can be customised:
- Logo
- Cover image
- Colour of pay buttons
- Displaying website

How to customise your checkout page
- Log in to the Revolut Business dashboard.
- Click on your profile to access the settings.
- Navigate to Account & documents menu, click on Merchant profile and choose Branding:

- Customise your checkout page using the available settings.
- Click Publish, after uploading all your assets and setting up the parameters of your checkout page.